Illustrating hair in Clip Studio Paint
Learn how to use Clip Studio Paint features to draw hair and make your drawings look more natural! Discover great options for applying color and shading.
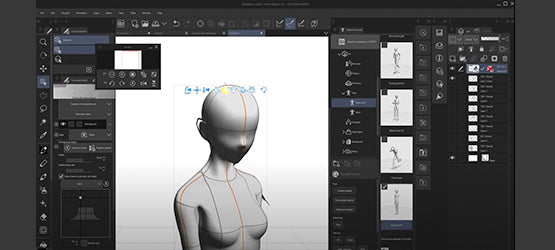
Choose a 3D model from the Material Palette if you have trouble imagining the shape of the head. Position it according to your idea and use it as a guide for your painting.
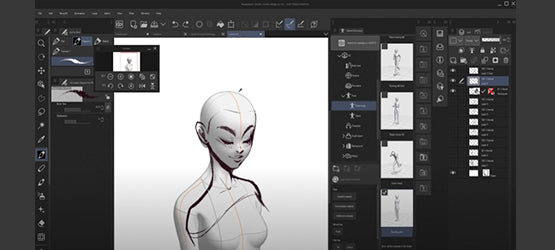
Sketch with your favorite brush on a layer above the 3D model after lowering the opacity of the layer. Make sure to follow the 3D shape for facial features and the skull.
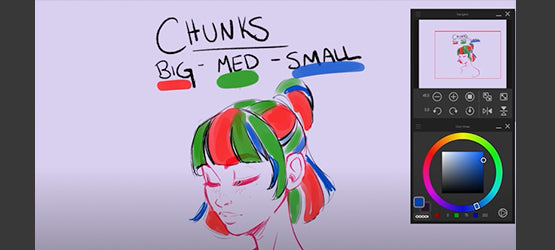
When sketching the hair, decide where the hair is parted and which direction it is flowing. Consider tension points such as hair bands and gravity, and vary different chunks of hair within different sections. Make sure to use small, medium and large chunks, rather than drawing individual hairs. (here blue, green and red)
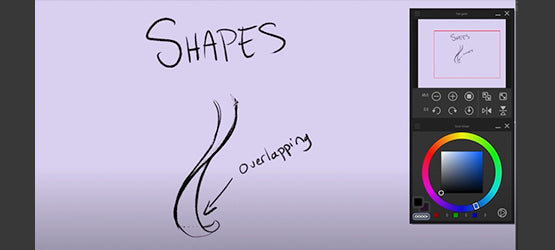
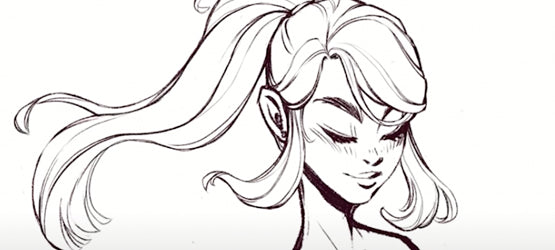
To draw a section or strand or hair, work with swooshy likes to show where hair overlaps and twists around itself. Don’t overdo the number of lines but focus on overall balance of the hairdo.
Once done with the sketch, create a new layer and draw the lineart with your favorite brush.
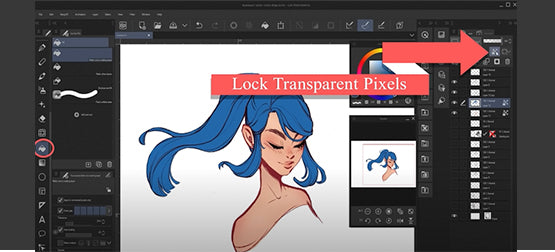
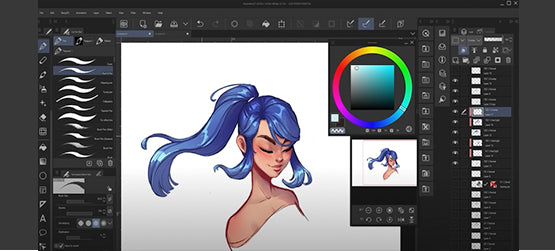
When coloring, create a new layer underneath your lineart. Fill in the area of the hair with one flat color as the base and avoid transparency. Use fill methods such as the bucket tool or the area selections etc.
Once the color is filled in, lock the transparency of the layer and add soft gradients to the base color with a large airbrush. Usually, the ends of the hair is brighter, while the roots are darker. Shift the colors on the color wheel to achieve the effect.
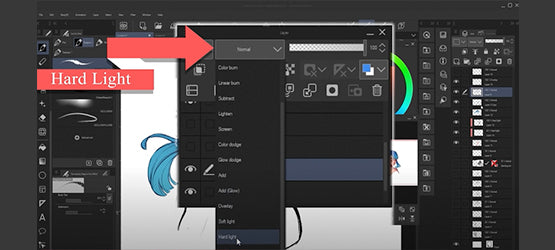
Create a new layer for the shadows above the base color and set the blending mode to “Hard Light”. Clip the layer to the one below to only draw above the layer. Grab a hard brush and bock in the shadows. Use an erase to refine shadows and draw according to the hair’s strands shape.
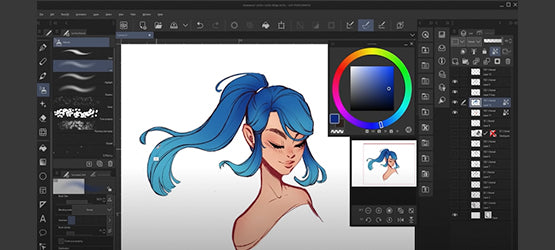
Similarly, add a new layer for the highlights and clip it to the ones below. Set the blending mode to “Overlay” and choose a lighter color for the highlights. Take the lightsource into consideration. Follow the flow of the hair and refine the highlights with an eraser. On individual chunks of hair, draw the highlights wider at the edges and slimmer in the center.
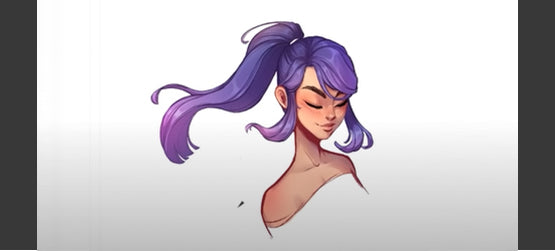
Once done, you can adjust the overall color with an adjustment layer clipped to the hair layers, or by combining layers to adjust the Hue and Saturation from the edit menu.
Add details where necessary and paint over any sections you desire. You can add smaller strands outside the lineart as well.
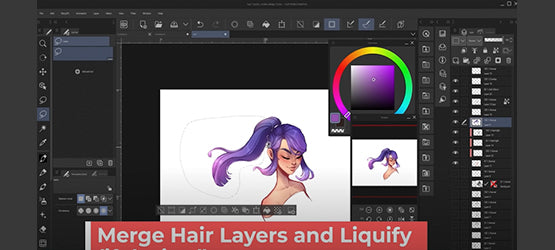
If you decide that the overall shape needs adjustment, you can use the Liquify tool to either adjust the drawing combined on one layer, or in Version 2 of Clip Studio Paint to adjust multiple layers simultaneously.
Good luck!
